While cleaning I found this old Melissa & Doug wooden box that I had saved for years. I thought, now is the time for a quick project.
Read MoreRocking the Clearance Cart at Joann
Who doesn't love rocking the clearance cart? Here's my latest crafty haul!
Read MoreDry Erase Menu Planner
I've been on again - off again about planning dinners here at home. Recently, we've had a few adjustments in our work schedules and a couple nasty snow storms that have shifted our nightly routines.

Digging out a "potty path" for our dog from over 12 inches of snow brought by a single one-day storm.
This evening rush to get dinner on the table has led to my husband suggesting a meal rotation of some of our favorite meals with room for an occasional new recipe and maybe one dinner out each week. Well, I'm a resourceful lass with an abundance of craft supplies. So today I grabbed some scrapbook paper, rub-on letters, and an old frame. Putting them together you have a dry erase menu planner:
I started by measuring the height of the frame and dividing it by both six and seven to see which layout made the most sense. I went with seven pieces of scrapbook paper, using the top one for the word "menu" and the bottom one for both Saturday and Sunday (weekend meals often go unplanned at our house as we may go out, visit family or simply munch on leftovers - all day) ;)
I cut the strips and rearranged them until I was pleased with the pattern. Next, I added the rub on letters. Finally, I glued the strips to a long strip of cardstock to keep them in a line and put them into the frame.
The scrapbook paper I used (from Stampin' Up) matches the paper I used on the clipboards from an earlier blog post:
http://www.lindsaycarr.com/blog/2015/10/3/daily-creativity-clipboards

Here's what the clipboards look like now: loaded with important papers and other debris.
So dig some old craft supplies out and be creative. Then enjoy a nice dinner and warm up from all this nasty snow.
Daily Creativity - Clipboards
In the midst of a busy life of work and family I am able find small creative projects that help keep me crafty. I wanted to share this fun, colorful addition to our wall that looks beautiful, used supplies I had on hand and helps keep us organized.
Supplies:
Standard pressed board type clip boards
Spray paint - if you want to change the clips to something other than silver
Scrapbook paper
Mod Podge
Paint Brush - for applying Mod Podge
Exacto knife
I left the plastic shrink wrap on the clip boards and used a hammered metal finish spray paint to customize the clip. Once that was dry, I removed the plastic wrap and coated the board in a layer of Mod Podge and applied the colorful scrap book paper. When dry, I used an exacto knife to trim the paper around the edges. Finally, top the scrapbook paper with one or two layers of Mod Podge and allow to dry thoroughly.

The finished clipboards.
Sorry, I had taken step-by-step photos. They seem to have disappeared. Hope you enjoy this project anyway!
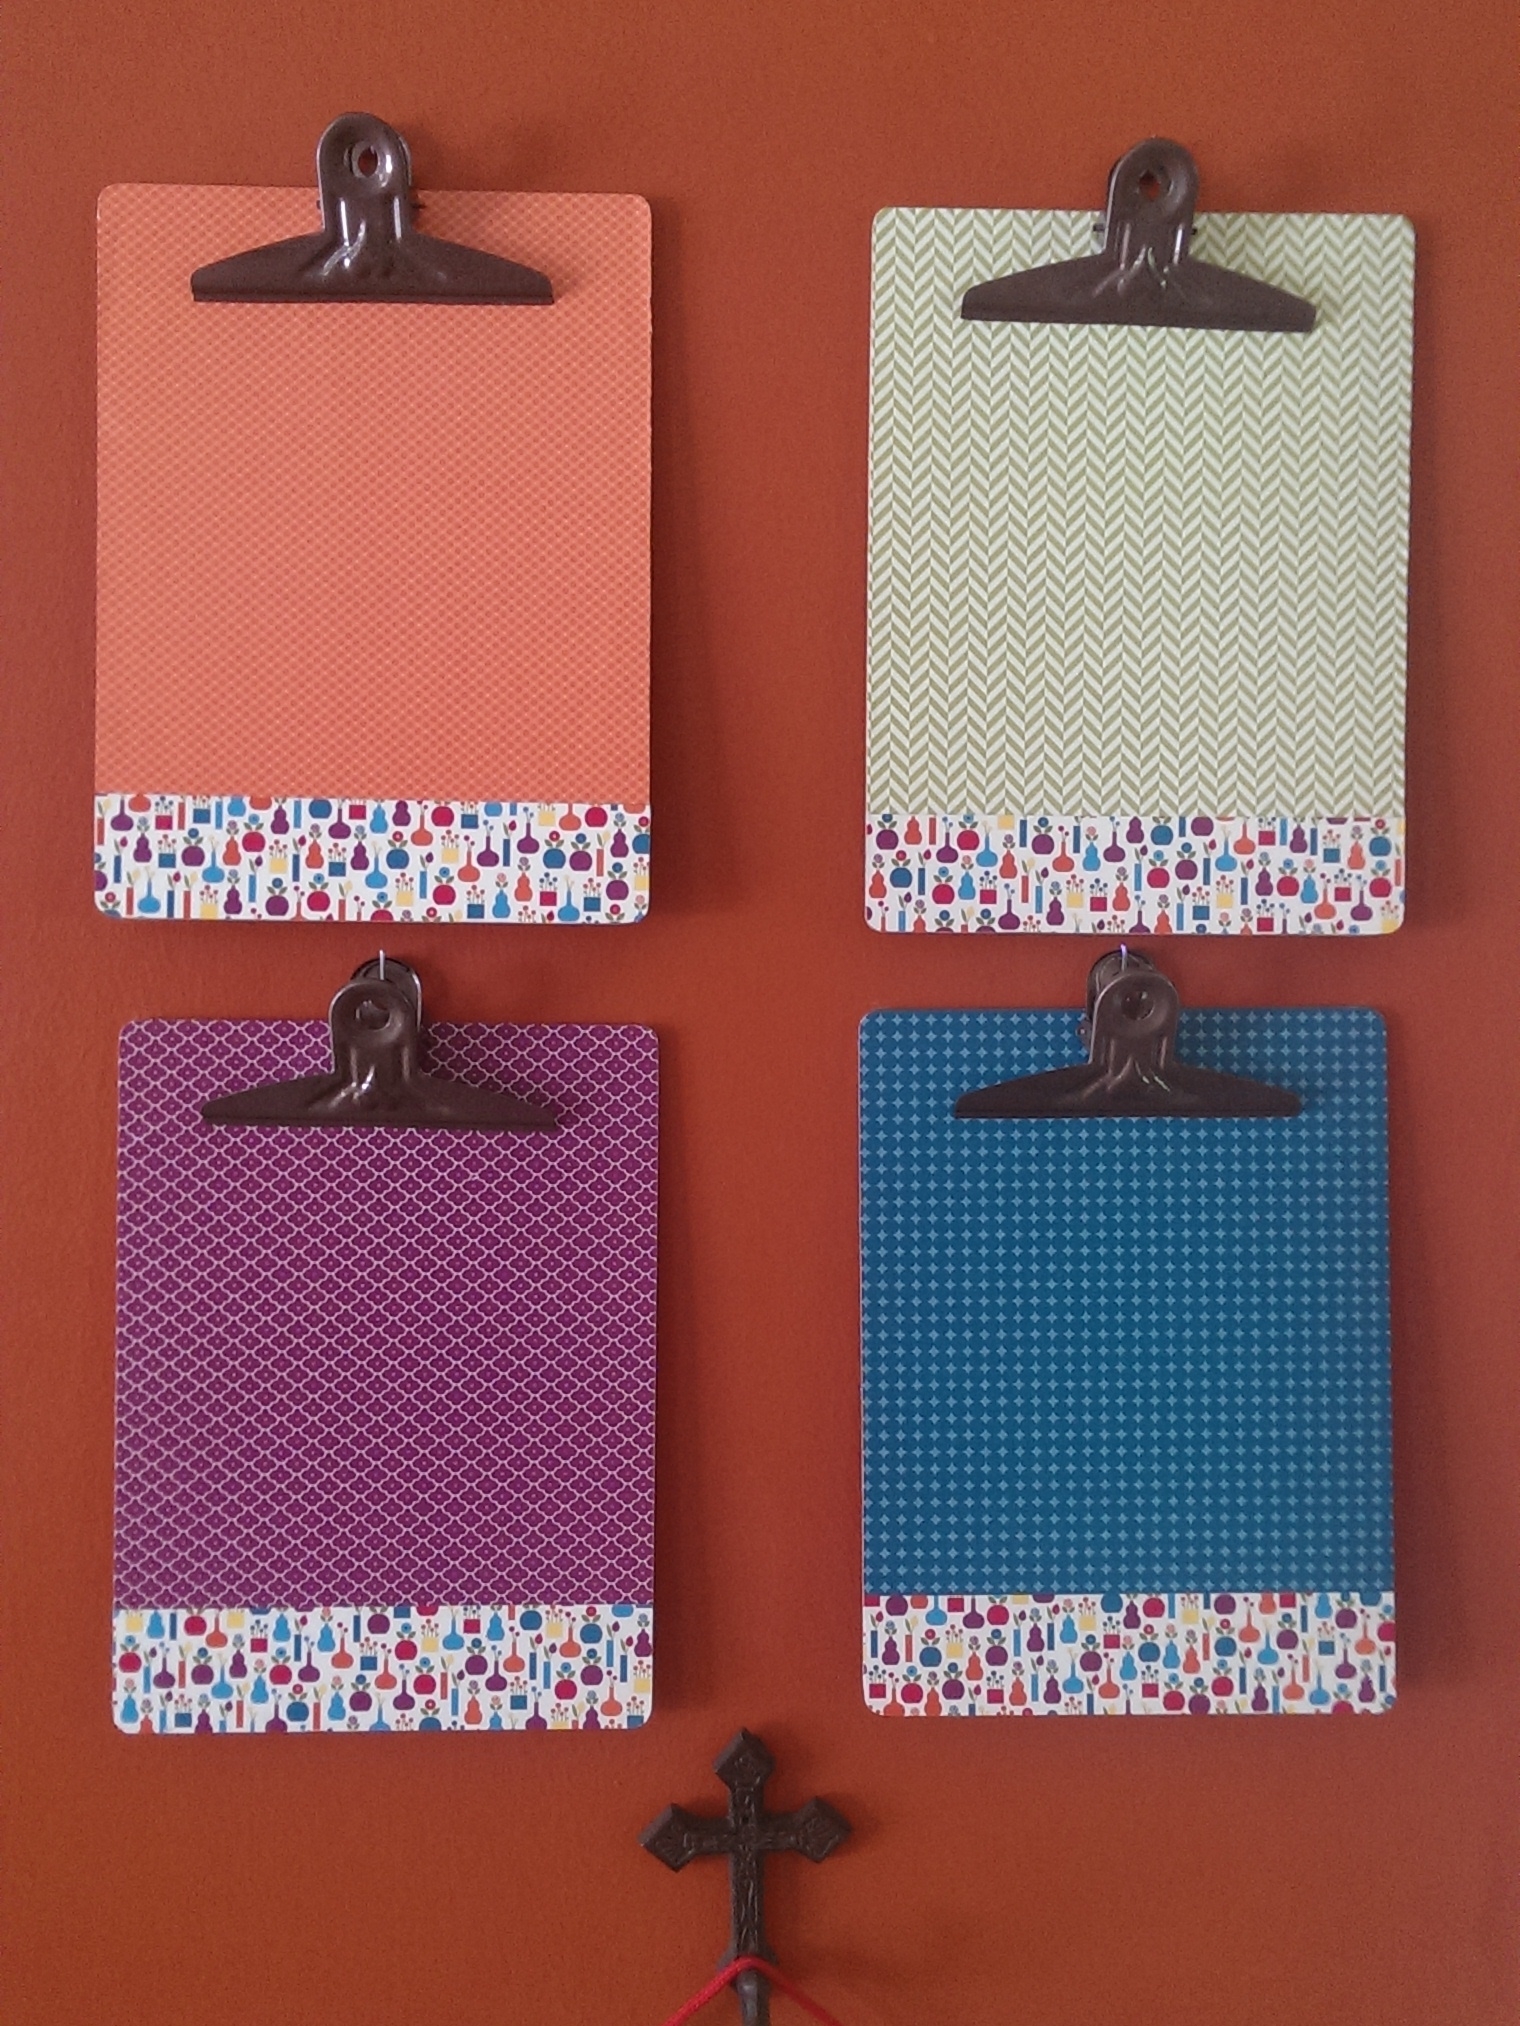
The finished clipboards hanging on our dining room wall.